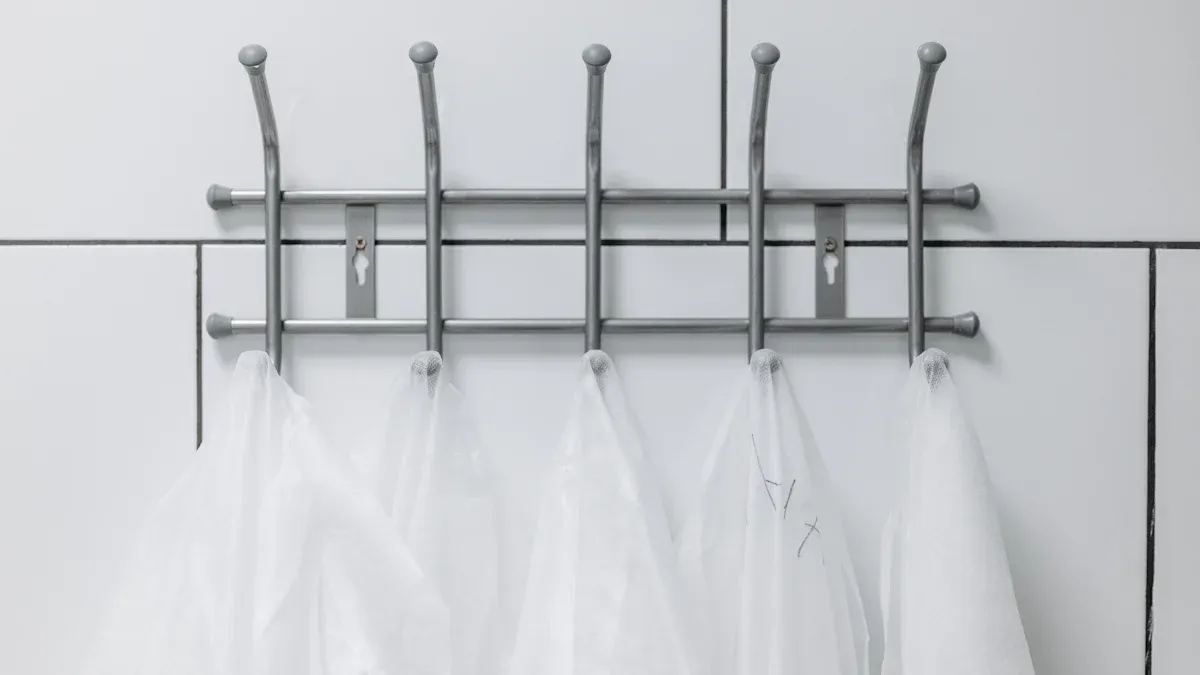
Have you ever stuck an Adhesive hook on your wall, only to find it on the floor the next day? It’s frustrating, right? The problem usually isn’t the hook itself—it’s how it’s applied. A little preparation can make all the difference. Whether it’s for a picture frame or a shower hook adhesive, you’ll learn simple tricks to keep them secure.
Key Takeaways
- Wipe the surface with rubbing alcohol before using hooks. This clears dirt and oil, making it stick well.
- Push the hook down hard for 30 seconds after sticking it. This spreads the glue evenly and makes it hold better.
- Wait one hour before hanging things on the hook. For heavy stuff, wait 24 hours so the glue sets fully.
Understanding Adhesive HooksWhy Adhesive Hooks Fail
Adhesive hooks can be a lifesaver, but they don’t always stick around as long as you’d like. So, why do they fail? One common reason is dirt or grease on the surface. Even a little dust can weaken the adhesive. Another issue is moisture. If you’re trying to use a hook in a damp area, like a bathroom, the humidity can interfere with the bond.
Sometimes, the problem is the surface itself. Adhesive hooks work best on smooth, non-porous surfaces like glass, tiles, or painted walls. If you stick them on rough or uneven surfaces, they might not hold up. Weight is another factor. Exceeding the hook’s weight limit can cause it to fall off, no matter how well you apply it.
The Importance of Proper Application
Getting the application right is key to making your adhesive hooks last. Start by cleaning the surface thoroughly. Use rubbing alcohol to remove any grease or dirt. Once the surface is clean, let it dry completely. Moisture can ruin the adhesive’s grip.
When you’re ready to apply the hook, press it firmly against the surface. This helps the adhesive bond properly. For areas with high humidity, like where you might use a shower hook adhesive, give the adhesive extra time to set before hanging anything. Following these steps can make a big difference in how well your hooks perform.
Preparation Steps for SuccessCleaning the Surface with Rubbing Alcohol
Before you stick an adhesive hook to any surface, cleaning is the first and most important step. Dust, grease, or even fingerprints can weaken the adhesive bond. You might think a quick wipe with a damp cloth is enough, but it’s not. Instead, grab some rubbing alcohol. It’s a simple yet effective way to remove oils and dirt that you can’t see.
Here’s how you do it:
- Pour a small amount of rubbing alcohol onto a clean cloth or cotton ball.
- Gently wipe the area where you plan to place the hook.
- Let the surface air dry for a few seconds.
This step ensures the adhesive has a clean, smooth surface to grip onto. Skipping this can lead to your hook falling off sooner than expected.
Pro Tip: Avoid using household cleaners like glass sprays or soap. They often leave behind residues that can interfere with the adhesive.
Ensuring the Surface is Completely Dry
Once you’ve cleaned the surface, make sure it’s completely dry. Even a tiny bit of moisture can ruin the adhesive’s ability to stick. You might be tempted to rush this step, but patience pays off here.
If you’re in a hurry, use a clean, dry cloth to wipe the area after cleaning. For surfaces in humid areas, like bathrooms, double-check for any lingering moisture. This is especially important if you’re using a shower hook adhesive. A dry surface gives the adhesive the best chance to form a strong bond.
Quick Tip: If you’re working in a humid environment, consider using a hair dryer on a low setting to ensure the surface is bone dry.
Choosing the Right Surface for Adhesion
Not all surfaces are created equal when it comes to adhesive hooks. Smooth, non-porous surfaces like glass, tiles, or painted walls work best. These surfaces allow the adhesive to stick evenly and securely. On the other hand, rough or porous surfaces, such as brick or unfinished wood, can make it harder for the adhesive to hold.
Before applying the hook, take a moment to evaluate the surface. Is it smooth? Is it clean? If you’re planning to use a shower hook adhesive, make sure the tiles or glass in your bathroom are free from soap scum or water spots. These small checks can save you from frustration later.
Note: Avoid applying adhesive hooks to surfaces that are textured, greasy, or prone to peeling. The adhesive won’t hold well, and you might damage the surface when removing the hook.
Application Techniques

Pressing Firmly for a Strong Bond
When it comes to adhesive hooks, a little pressure goes a long way. After placing the hook on the surface, press it firmly with your fingers for about 30 seconds. This step helps the adhesive spread evenly and form a strong bond with the surface. Think of it like giving the hook a handshake—it’s your way of saying, “Stay put!”
Make sure you apply pressure to all parts of the hook’s base. If you’re using a shower hook adhesive, this step becomes even more important. Bathrooms often have higher humidity, so a strong initial bond is crucial. Don’t rush this step. A few extra seconds of pressing can save you from the frustration of a fallen hook later.
Quick Tip: Use the palm of your hand for even pressure, especially on larger hooks. This ensures the adhesive sticks properly across the entire surface.
Allowing Time for the Adhesive to Set
Patience is key when it comes to adhesive hooks. Once you’ve pressed the hook firmly into place, give the adhesive time to set. Most manufacturers recommend waiting at least an hour before hanging anything on the hook. For heavier items or humid areas, like where you’d use a shower hook adhesive, waiting 24 hours is even better.
Why wait? The adhesive needs time to cure and create a strong bond with the surface. If you hang something too soon, you risk weakening the bond. It’s tempting to test the hook right away, but trust the process. Letting the adhesive set properly ensures your hook stays secure for the long haul.
Pro Tip: Mark the time you applied the hook so you don’t accidentally hang something too early. A sticky note or a quick reminder on your phone can help.
Using a Hair Dryer to Enhance Adhesion
Did you know a hair dryer can be your secret weapon for stronger adhesion? Heat softens the adhesive, allowing it to bond more effectively with the surface. Before applying the hook, use a hair dryer on a low setting to warm up the adhesive strip slightly. This trick works wonders, especially in colder environments where adhesives can stiffen.
Here’s how to do it:
- Hold the hair dryer about 6 inches away from the adhesive strip.
- Warm the strip for 10-15 seconds.
- Quickly press the hook onto the surface while the adhesive is still warm.
This method is particularly useful for shower hook adhesive, as it helps the adhesive grip better in humid conditions. Just be careful not to overheat the strip, as too much heat can damage the adhesive.
Note: Always check the manufacturer’s instructions before using heat. Some adhesives may not be designed for this technique.
Factors That Affect AdhesionWeight Limits and How to Stay Within Them
Adhesive hooks come with weight limits for a reason. Exceeding these limits is one of the quickest ways to make your hook fail. Always check the packaging for the maximum weight the hook can hold. If you’re unsure, it’s better to go with a hook that supports more weight than you think you’ll need.
To stay within the limit, weigh the item you plan to hang. A small kitchen scale works great for this. If the item is close to the hook’s limit, consider using two hooks for extra support. For heavier items, you might need to switch to a more permanent solution like screws or nails.
Tip: Keep in mind that the weight includes the item and any added pressure, like pulling or tugging.
Temperature and Humidity Considerations
Temperature and humidity can make or break your adhesive hook’s performance. Extreme heat can soften the adhesive, while cold temperatures can make it brittle. Humidity, especially in bathrooms, weakens the bond over time.
For best results, apply hooks in a room with moderate temperature. Avoid sticking them in areas exposed to direct sunlight or near heating vents. If you’re using hooks in a humid space, like a bathroom, choose ones specifically designed for moisture resistance.
Quick Tip: Look for hooks labeled as “waterproof” or “humidity-resistant” for bathrooms or kitchens.
Best Practices for Shower Hook Adhesive
Shower hooks face unique challenges. Constant moisture and steam can weaken the adhesive if you’re not careful. To make them last, start by cleaning the surface thoroughly and drying it completely. Use a hair dryer to ensure no moisture remains.
Choose hooks designed for wet environments. These often have stronger adhesives or waterproof coatings. After applying the hook, wait at least 24 hours before hanging anything. This gives the adhesive time to fully cure.
Note: Avoid hanging heavy items like large shampoo bottles. Stick to lightweight items like loofahs or small shower caddies.
Maintenance and Removal Tips
Maintaining Adhesion Over Time
Keeping your adhesive hooks secure doesn’t stop after you stick them on. Regular maintenance can help them stay in place longer. Start by checking the hooks every few weeks. If you notice any loosening, press them firmly again to reinforce the bond.
Avoid overloading the hooks. Even if they seem sturdy, sticking to the weight limit ensures they last. For hooks in humid areas, like bathrooms, wipe the surface occasionally to remove moisture or soap residue. This prevents the adhesive from weakening over time.
Pro Tip: If you’re using hooks in high-traffic areas, remind everyone to avoid pulling or tugging on them. Gentle use keeps them secure.
Safely Removing Adhesive Hooks Without Damage
When it’s time to remove an adhesive hook, don’t just yank it off. Doing so can damage your wall or leave behind sticky residue. Instead, follow these steps:
- Hold the base of the hook firmly.
- Pull the adhesive strip straight down, not outward. This stretches the adhesive and releases it from the surface.
- If the hook resists, use a hair dryer to warm the adhesive. The heat softens it, making removal easier.
Quick Tip: Always read the manufacturer’s instructions before removing the hook. Some adhesives have specific removal techniques.
Removing Adhesive Residue from Surfaces
Leftover adhesive can be annoying, but it’s easy to clean. Start by rubbing the residue with your fingers. If that doesn’t work, use a bit of rubbing alcohol or a citrus-based cleaner. Apply it to a cloth and gently scrub the area. For stubborn spots, a plastic scraper can help without scratching the surface.
Note:Avoid harsh chemicals or abrasive Tools. They can damage paint or delicate surfaces.
Adhesive hooks can be a game-changer when you use them correctly. Remember to clean, dry, and press firmly for the best results. Follow these simple steps, and you’ll enjoy secure, long-lasting hooks. They’re versatile, convenient, and perfect for organizing your space without damaging walls. Give them a try—you won’t regret it!
FAQ
How long should I wait before hanging items on an adhesive hook?
You should wait at least one hour. For heavier items or humid areas, waiting 24 hours ensures a stronger bond.
Tip: Patience pays off! Let the adhesive fully cure for the best results.
Can I reuse adhesive hooks after removing them?
Most adhesive hooks are single-use. Reusing them reduces their sticking power. If you need to reapply, use a fresh adhesive strip.
Note: Check the packaging for reusable options if needed.
What’s the best way to clean adhesive residue?
Use rubbing alcohol or a citrus-based cleaner. Apply it to a cloth and gently scrub the area. Avoid harsh chemicals to protect your surface.
Quick Tip: A plastic scraper works wonders for stubborn spots without causing scratches.
Media Contact
Company Name: NINGBO JUTYE SANITARY TECH CO., LTD.
Email:Send Email
Country: China
Website: https://www.jutyehome.com/