How to Install Outdoor Spot Lighting: Step-by-Step Instructions for a Stunning, Safe Yard
Outdoor spot lighting is a versatile and impactful way to elevate your yard’s aesthetics, enhance nighttime safety, and highlight key landscape features—from lush shrubs and towering trees to architectural details of your home. Whether you’re a seasoned DIY enthusiast or a homeowner looking to upgrade your outdoor space, installing spot lights outdoor doesn’t have to be a complex undertaking. With the right tools, proper planning, and adherence to safety guidelines, you can transform your outdoor area into a warm, inviting, and secure environment after dark. This comprehensive guide walks you through every step of the process, from selecting the right spot lights outdoor to maintenance tips, ensuring your installation is both effective and long-lasting. Outdoor spot lighting installation requires a balance of functionality and design, and with our expert advice, you’ll be able to achieve professional-looking results with DIY outdoor spotlights.
1. Understanding Spot Lights Outdoor: Types, Uses, and Key Considerations
Before diving into the installation process, it’s essential to understand what spot lights outdoor are and how to choose the right ones for your needs. Spot lights outdoor are directional lighting fixtures designed to focus a narrow beam of light on specific areas, making them ideal for highlighting focal points, illuminating pathways, or deterring intruders. Unlike floodlights, which cast a wide, diffused glow, spot lights outdoor offer precision, allowing you to create layered lighting effects that add depth and character to your outdoor space. When selecting spot lights outdoor, you’ll encounter several common types, each suited to different applications, and key factors that influence performance and durability. LED outdoor spotlights, solar spot lights outdoor, and motion sensor spot lights outdoor are among the most popular options, each with unique benefits that cater to various budgets and preferences.
1.1 Common Types of Spot Lights Outdoor
The type of spot lights outdoor you choose will depend on your installation location, power source availability, and desired functionality. LED outdoor spotlights are the most energy-efficient and long-lasting option, with a lifespan of up to 50,000 hours—far exceeding traditional halogen bulbs. They emit bright, clear light in a range of color temperatures, from warm white (2700K) for a cozy ambiance to cool white (5000K) for enhanced security. Solar spot lights outdoor are a great choice for areas without access to electrical outlets, as they harness sunlight to charge internal batteries, operating entirely off-grid. They’re easy to install and eco-friendly, though their brightness and runtime may be limited in shaded areas or during short winter days. Motion sensor spot lights outdoor combine security and convenience, activating only when movement is detected, which helps conserve energy and draw attention to potential intruders. Halogen spot lights outdoor are less common today due to their high energy consumption and short lifespan, but they offer intense, warm light for those seeking a traditional look. When comparing these types, consider factors like installation complexity, energy costs, and maintenance requirements to select the best spot lights outdoor for your yard.
1.2 Key Factors to Choose the Right Spot Lights Outdoor
Selecting the right spot lights outdoor goes beyond choosing a type—several technical factors directly impact performance and durability, especially in outdoor environments. First, prioritize Waterproof Outdoor Spotlights with a high IP (Ingress Protection) rating. An IP65 rating is suitable for most outdoor use, as it protects against dust and low-pressure water jets, while IP68-rated fixtures can be submerged in water, making them ideal for garden ponds or wet areas. Always check for relevant certifications like CE or CCC to ensure compliance with safety standards. Next, consider color temperature, which affects the mood of your outdoor space. Warm white (2700K-3000K) creates a welcoming atmosphere for patios and gardens, while cool white (4000K-5000K) offers better visibility for pathways and security areas. Beam angle is another critical factor: narrow beam angles (15°-30°) are perfect for highlighting small features like statues or flower beds, while wider angles (45°-60°) work well for washing walls or illuminating larger shrubs. Finally, consider the fixture’s material—aluminum or stainless steel are resistant to rust and corrosion, ensuring your spot lights outdoor withstand harsh weather conditions, from heavy rain to extreme temperatures. By evaluating these factors, you’ll choose spot lights outdoor that meet your functional needs and stand the test of time.
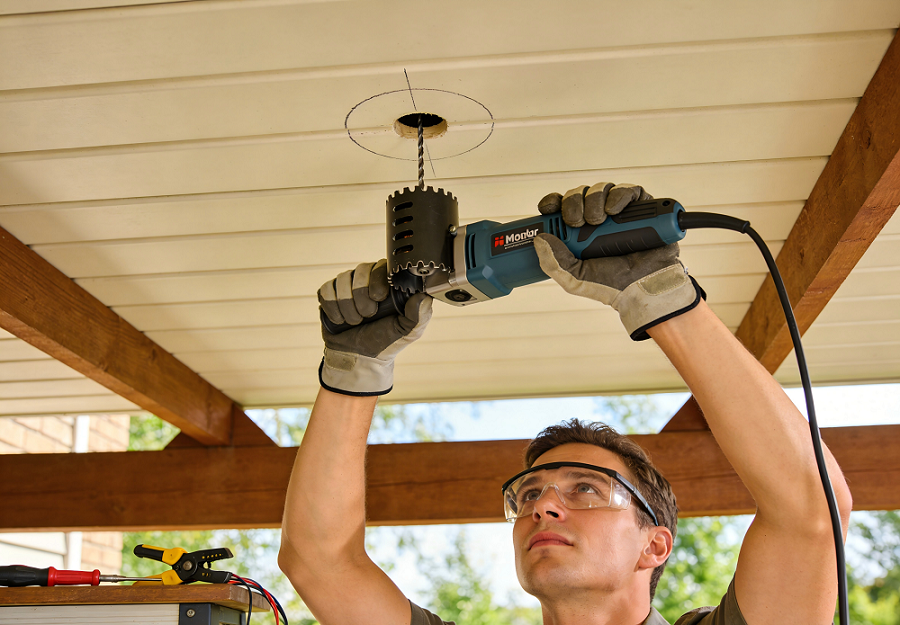
2. Pre-Installation Preparation: Tools, Materials, and Safety Gear
Proper preparation is the foundation of a successful outdoor spot lighting installation. Taking the time to gather the right tools, materials, and safety gear will streamline the process, reduce errors, and ensure your safety throughout. The specific items you’ll need vary slightly depending on whether you’re installing hardwired or solar spot lights outdoor, but there are universal essentials for any project. This phase also includes critical safety checks to prevent electrical hazards, which is especially important for hardwired spot lights outdoor. By preparing thoroughly, you’ll avoid delays and ensure your installation meets industry standards for outdoor spot lighting wiring and mounting.
2.1 Essential Tools for Outdoor Spot Lighting Installation
Having the right tools on hand will make installing spot lights outdoor much easier. For both hardwired and solar installations, you’ll need a screwdriver set (including Phillips and flathead), a tape measure, and a level to ensure fixtures are mounted straight. For hardwired projects, add a wire stripper, wire cutter, and electrical tape to handle wiring connections. An electric drill with masonry bits is essential for mounting fixtures on brick, stone, or concrete surfaces, while a shovel or trowel may be needed for burying wires or installing ground spikes. For precision, a laser测距仪 can help plan spacing between fixtures, and a voltage tester is critical for verifying that power is off before working with electrical components. Outdoor-specific tools like waterproof wire connectors and conduit cutters are also recommended to ensure durable, weatherproof connections. If you’re working with solar spot lights outdoor, a small brush may be useful for cleaning光伏 panels during installation. Investing in high-quality, outdoor-rated tools will not only simplify the installation but also ensure your spot lights outdoor are mounted securely.
2.2 Safety Gear & Pre-Installation Safety Checks
Safety should be your top priority when installing spot lights outdoor, especially when working with electricity. Always wear insulated gloves to protect against electric shock and safety goggles to shield your eyes from debris while drilling or cutting. For projects involving ladders, use a stable, properly sized ladder and have a helper spot you to prevent falls. Before starting any hardwired installation, turn off the power to the area at the main circuit breaker and use a voltage tester to confirm there’s no current—never assume the power is off. Install a GFCI (Ground Fault Circuit Interrupter) outlet or switch for your outdoor spot lighting to prevent electrical hazards in wet conditions, as required by the National Electrical Code (NEC). Ensure all wiring is rated for outdoor use, and avoid running wires through areas where they may be crushed or exposed to excessive moisture. For solar installations, while there’s no electrical risk, be cautious when digging to avoid damaging underground utilities like gas lines or water pipes. By following these safety protocols, you’ll minimize risks and ensure a safe installation process for your spot lights outdoor.
3. Step-by-Step Guide to Install Outdoor Spot Lighting
Now that you’ve selected your spot lights outdoor and gathered your tools and safety gear, it’s time to begin the installation. This step-by-step process covers everything from planning your layout to testing and adjusting your fixtures, ensuring a seamless and effective result. Whether you’re installing ground-mounted, wall-mounted, hardwired, or solar spot lights outdoor, following these steps will help you achieve a professional finish. Proper planning and attention to detail are key here—taking the time to layout your fixtures correctly and secure connections will ensure your spot lights outdoor function optimally for years to come. This guide balances simplicity with technical accuracy, making it accessible for DIYers while adhering to best practices for install outdoor spot lights DIY.
3.1 Plan Your Outdoor Spot Lighting Layout
A well-planned layout is essential for creating functional and visually appealing spot lights outdoor. Start by identifying your goals: do you want to highlight landscape features, illuminate pathways, enhance security, or create a cozy ambiance? Use a three-tier approach: functional light for pathways and entryways, accent light for focal points like trees or statues, and ambient light for patios or seating areas. Measure your yard to determine the number of fixtures needed, and follow general spacing guidelines—fixtures should be placed approximately 1.5 times their height apart to avoid dark spots. For ground-mounted spot lights outdoor, aim for a height of 0.4-0.8 meters for subtle accent lighting, while wall-mounted fixtures work best at 1.8-2.2 meters to illuminate pathways or entryways. Adjust the beam angle based on your target: use 15°-30° angles for narrow, focused light on small features, and 45°-60° angles for wider coverage on walls or large shrubs. Consider using a lighting simulation app to visualize your layout before installation, which can help you avoid overlighting or uneven coverage. Mark the installation locations with stakes or chalk to ensure accuracy, and double-check that fixtures are positioned to avoid glare into windows or neighboring yards. A thoughtful layout will maximize the impact of your spot lights outdoor while minimizing energy waste.
3.2 Mount Spot Lights Outdoor (Ground & Wall Installation)
The mounting process varies slightly depending on whether you’re installing ground or wall-mounted spot lights outdoor. For ground installation, most solar and some hardwired fixtures come with ground spikes. Soften the soil with a shovel or trowel, then insert the spike firmly into the ground until it’s stable—avoid rocky areas, as they may damage the spike or cause the fixture to wobble. For hard soil or rocky terrain, use a drill with a masonry bit to create a pilot hole before inserting the spike. For wall-mounted spot lights outdoor, start by marking the mounting holes on the wall using the fixture’s mounting bracket as a template. Ensure the bracket is level, then drill pilot holes and insert wall anchors (if mounting on drywall or brick) to secure the bracket with screws. Attach the fixture to the bracket, ensuring it’s tight to prevent movement from wind or weather. For砖石墙面, use masonry screws and anchors designed for outdoor use to ensure a secure hold. If adjusting the angle of your spot lights outdoor, do so before fully tightening the fixture to allow for precise positioning. Take care not to over-tighten screws, as this may damage the fixture or mounting surface.
3.3 Wiring & Waterproof Handling for Outdoor Spot Lights
Wiring is a critical step for hardwired spot lights outdoor, and proper waterproofing is non-negotiable to prevent damage from moisture. Start by running the wiring from the power source (GFCI outlet or switch) to each fixture, using outdoor-rated conduit to protect the wires from damage. For underground wiring, bury the conduit at least 6 inches deep to avoid accidental damage from digging. Use RVV 2×2.5mm² wire for main lines and smaller gauge wire for branch lines, ensuring the wire gauge is appropriate for the distance and number of fixtures—overloading wires can cause overheating. Strip the ends of the wires (approximately ½ inch) and connect them using waterproof wire connectors, twisting the wires together before securing the connector. Apply silicone sealant or heat-shrink tubing over the connectors for extra protection against moisture. For solar spot lights outdoor, position the光伏 panel in an area that receives at least 6-8 hours of direct sunlight daily, adjusting the angle to face south (in the Northern Hemisphere) for maximum sun exposure. Secure the panel to the ground or a wall using the included mounting hardware, and route the wire to the fixture, ensuring it’s not taut or exposed to foot traffic. For both hardwired and solar installations, tuck excess wire away to prevent damage and maintain a clean appearance.
3.4 Test & Adjust Your Outdoor Spot Lights
Once your spot lights outdoor are mounted and wired, it’s time to test and adjust them for optimal performance. For hardwired fixtures, turn the power back on at the circuit breaker and check that each fixture illuminates. For solar fixtures, allow the panel to charge for at least 24 hours before testing, then activate the lights to ensure they work correctly. Walk around your yard at night to assess the lighting效果, adjusting the angle of each fixture to focus on your target areas. If you notice glare, tilt the fixture slightly downward or use a honeycomb grid (available for most spot lights outdoor) to reduce it. For motion sensor spot lights outdoor, test the sensor range by walking in front of the fixture, adjusting the sensitivity dial if needed to avoid false triggers from wind or small animals. Check for uneven lighting or dark spots, and add additional fixtures or reposition existing ones if necessary. Adjust the brightness or color temperature (if your fixtures are dimmable or offer color options) to achieve your desired ambiance. Finally, inspect all connections to ensure they’re secure and waterproof, and clean the fixture lenses to remove any dirt or debris that may affect light output. Taking the time to test and adjust your spot lights outdoor will ensure they meet your expectations and function reliably.
4. Advanced Tips: Smart Linkage, Anti-Glare & Avoiding Common Mistakes
To take your outdoor spot lighting to the next level, consider advanced techniques like smart linkage and anti-glare solutions, while avoiding common pitfalls that can undermine your installation. These tips will help you maximize the functionality and longevity of your spot lights outdoor, creating a polished, professional look that stands out from basic installations. Smart outdoor spot lights and anti-glare measures add convenience and comfort, while avoiding mistakes ensures your investment lasts. By incorporating these advanced tips, you’ll elevate your outdoor lighting beyond a simple DIY project.
4.1 Smart Linkage for Outdoor Spot Lights
Smart linkage transforms ordinary spot lights outdoor into a connected system, offering greater control and convenience. For a basic smart setup, use WiFi outdoor spot lights that connect to your home’s WiFi network, allowing you to control them remotely via a smartphone app. You can set schedules, adjust brightness, and even change color temperatures from anywhere, making it easy to simulate occupancy when you’re away. For a more integrated system, pair your spot lights outdoor with a smart hub and additional sensors, such as motion sensors or光照 sensors. This allows for advanced automation: for example, your lights can turn on automatically at dusk, brighten when motion is detected, and turn off at dawn. Some smart spot lights outdoor are compatible with voice assistants like Alexa or Google Home, enabling hands-free control. For budget-friendly smart integration, install a smart switch on your existing hardwired spot lights outdoor—this avoids the need to replace fixtures while adding smart functionality. When setting up smart linkage, ensure your WiFi network has adequate coverage in outdoor areas, or use a mesh WiFi extender to eliminate dead zones. Smart spot lights outdoor add a layer of convenience and security, making them a worthwhile upgrade for any outdoor lighting system.
4.2 Common Mistakes to Avoid When Installing Spot Lights Outdoor
Even with careful planning, it’s easy to make mistakes when installing spot lights outdoor—avoiding these common pitfalls will save you time, money, and frustration. One of the most frequent errors is overlighting, which creates harsh glare and wastes energy. Stick to your layout plan and use fixtures with appropriate brightness for your needs. Another mistake is neglecting waterproofing: even waterproof fixtures can fail if connections are not properly sealed, so always use waterproof connectors and sealant. Overloading electrical circuits is a safety hazard—ensure each circuit powers no more than 8-10 Led Spot Lights Outdoor.
Media Contact
Company Name: Dongguan Fitlight Lighting Co., Ltd.
Email:Send Email
Country: China
Website: https://www.fitlight-tech.com/