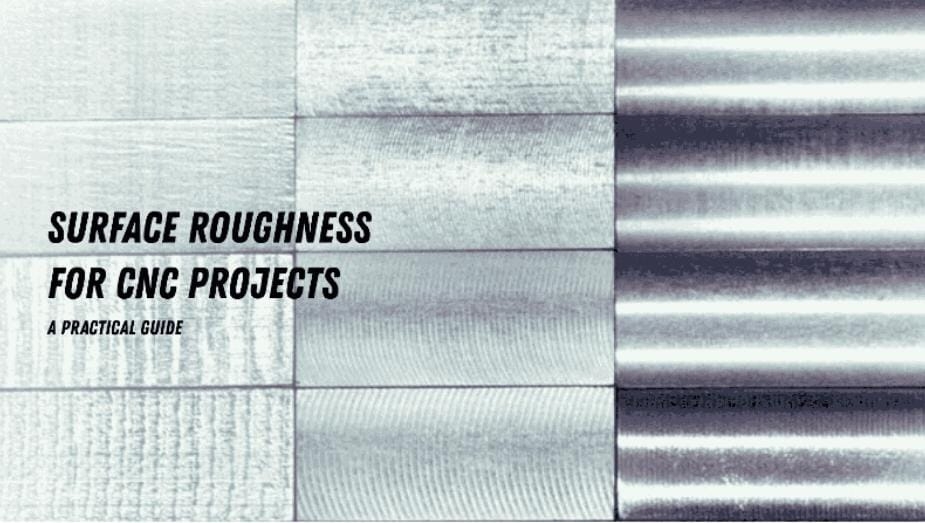
Shenzhen, Guangdong, China - Proleantech, a trusted name in precision manufacturing solutions, today announced the release of its comprehensive Practical Guide to Surface Roughness for CNC Projects. This initiative aims to educate engineers, product designers, and manufacturers on how surface finish impacts both performance and cost-effectiveness in CNC machining, empowering businesses to make informed decisions for their production needs.
CNC Machining Surface Roughness In custom machining, surface roughness affects how a part looks, feels, and performs. A standard finish, called “as machined,” has a roughness of about Ra 3.2 µm. It feels smooth to the touch but shows fine lines from the cutting tool. This finish works well for most parts.
Sometimes, you’ll need a uniform surface, especially for parts that slide and move. A smoother finish helps reduce friction and wear. This makes the part last longer. To obtain this, you can:
-
Use a slower, more precise machining step
-
Add a post-process like polishing and grinding
Smoother finishes take more time and cost more. So it’s important to find the right balance between surface quality and cost.
In other cases, a rougher surface is better. For example, a bicycle seat post needs more grip so it doesn’t slip. You can’t get this texture just by machining. You’ll need a secondary process like:
-
Bead blasting
-
Tumbling
The final surface depends on both the machining and any finishing steps. If you’re unsure which finish your part needs, keep reading this guide to choose the best option.
Units of Measurement for Surface Roughness
Surface roughness is often measured using Ra. It refers to the mean average roughness. It shows the average height between the peaks and valleys on a surface.
-
A low Ra means a smooth surface.
-
A high Ra means a rough surface.
For example, a laptop touchpad has a low Ra because it’s smooth. If the Ra value is higher, it would feel rough and be uncomfortable to use. Choosing the right Ra is important before machining starts, especially for parts that need a specific finish.
What Are Ra Units?
Ra means roughness average. It’s a standard unit used to measure surface roughness in CNC machining.
Ra is usually calculated in micrometres (µm) and micro-inches (µin). These units show how much the surface varies from a perfectly flat line.
1 micrometre (µm) = 39.37 micro-inches (µin)
Ra defines the average height of tiny peaks and valleys across a surface. The smaller the Ra number, the smoother the surface.
-
Low Ra = smoother, more polished finish
-
High Ra = rougher, more textured finish
This value helps you choose the right surface finish for a part's function. For example, smoother parts are better for sliding or sealing. On the other hand, rougher ones may be used for grip and bonding.
How Is Ra Calculated?
Ra is calculated by taking the average of all vertical changes along a measured surface length.
In simple terms: Ra = the average distance from the surface to the centre line
Instead of just measuring the largest bump and dip, Ra looks at the overall roughness across the surface, giving a balanced view of smooth and uneven parts.
Standard Surface Finish in Machining
The most common surface finish for machined parts is Ra 3.2 µm. This is known as a general-purpose and standard finish. It’s ideal for parts that handle vibration, load, and stress, and is also the most cost-effective.
At this level, tool marks will still be visible. However, it allows fast machining speeds, reducing time and cost.
You can add a finishing pass for parts that require a smoother surface. This will lower the Ra value and add machining time and cost.
Some manufacturers, like Proleantech, offer as-machined finishes at Ra 3.2 µm and Ra 1.6 µm, depending on your requirements.
Types of Machining Finishes
-
As-Machined Finish: The natural finish after CNC machining. Visible tool marks and slightly rough texture. Suitable for parts where surface appearance is not essential.
-
Smooth Finish: Achieved with grinding and honing, removing tool marks for a cleaner look. Ideal for sliding or sealing parts.
-
Textured Finish: Adds rough patterns via bead blasting or knurling, used for grip or specific aesthetics.
-
Mirror Finish: High-gloss reflective surface achieved through fine polishing, mainly for decorative or high-end parts.
-
Anodised Finish: For aluminium, creates a hard protective coating and allows for colour customization.
Common Surface Finish Symbols
-
= : Standard surface finish symbol (ISO 1302)
-
⊥ : Tool marks perpendicular to the surface
-
X : Tool marks in a criss-cross pattern
-
M : Marks from polishing and lapping, random direction
-
C : Concentric circular tool marks
-
R : Tool marks parallel to the surface
How to Measure Surface Roughness?
-
Contact Profilometer: Uses a diamond tip to measure height changes. Accurate but slower.
-
Non-Contact Profilometer: Uses light and lasers for a 3D surface map. Fast and non-invasive.
-
Portable Surface Roughness Tester: Handheld device for quick readings.
-
Surface Roughness Comparator: Physical samples for visual/tactile comparison. Less precise.
How to Pick the Right Surface Roughness Consider usage, durability needs, and budget.
-
Ra 3.2 µm: Cost-effective for most parts.
-
Ra 1.6 µm: Smoother, fewer tool marks.
-
Ra 0.8–0.4 µm: Precision parts, higher cost, better accuracy.
Use smoother finishes only when necessary; otherwise, standard finishes save time and money.
Key Takeaways Surface roughness affects both performance and feel. The right finish depends on the part’s function and cost constraints. Understanding Ra measurements and finish symbols ensures accurate communication with manufacturers, avoiding unnecessary costs.
Media Contact
Company Name: Proleantech
Contact Person: Mr.David
Email:Send Email
City: Shenzhen
State: Guangdong
Country: China
Website: https://proleantech.com/

